Where this lives
Navigate to Voice > Settings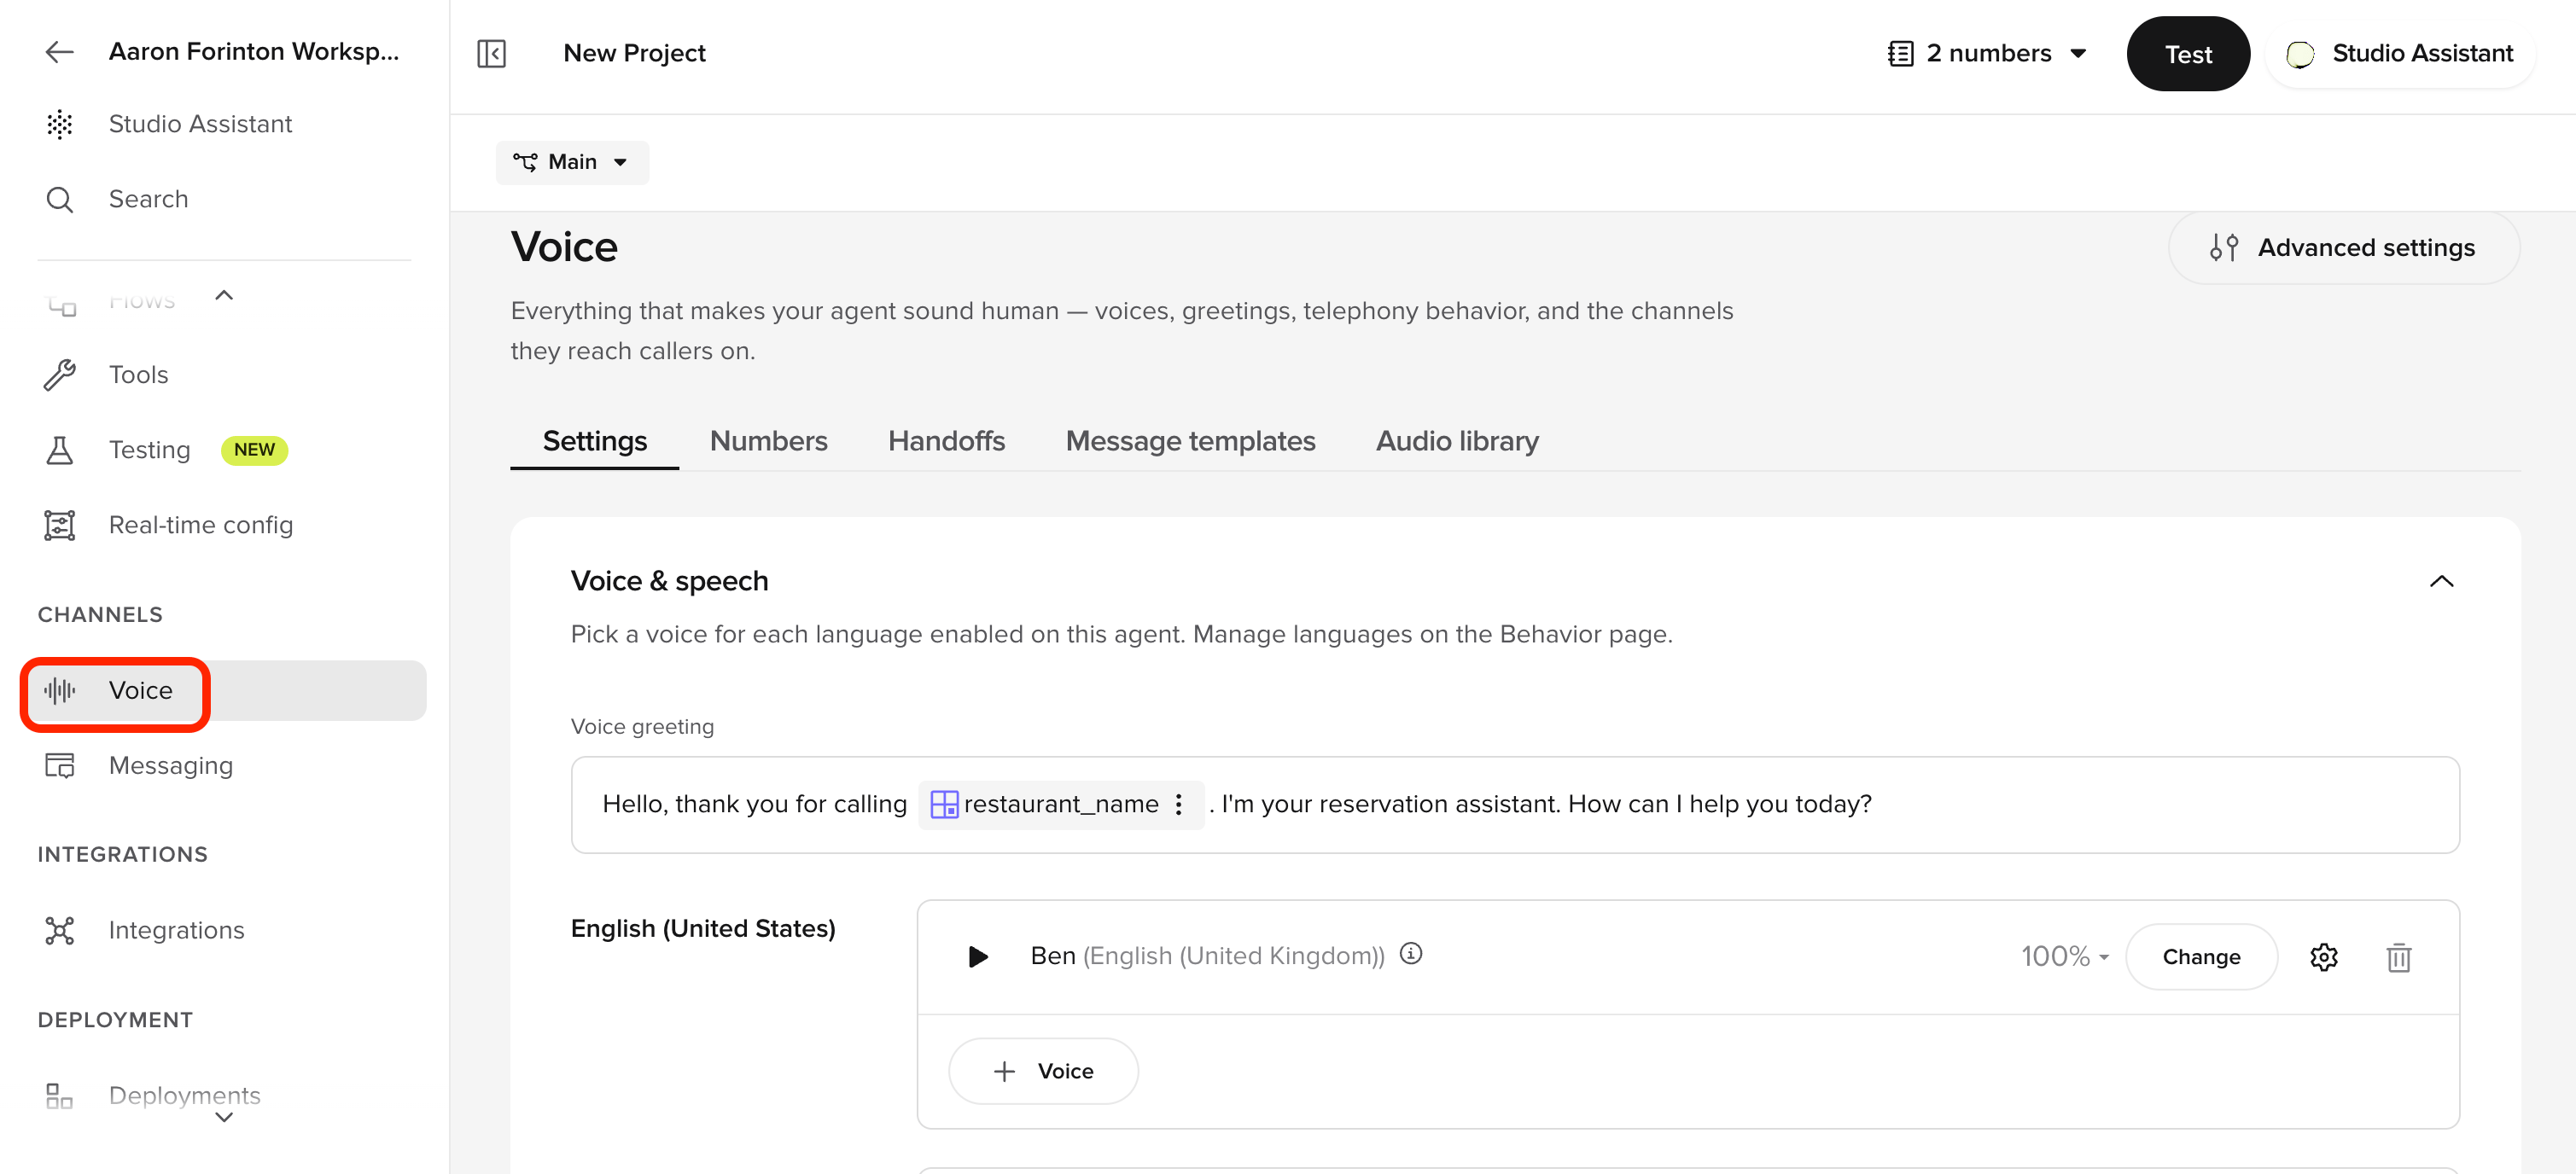
Agent
The primary speaking voice
Disclaimer
Used only for legal or informational disclosures (if enabled)
What you are configuring
Each voice entry has three layers:1
Voice selection
Who the agent sounds like
2
Weighting
If multiple voices are used, how they’re distributed
3
Voice tuning
Stability, clarity, and speed adjustments
Configure your Agent Voice
1
Select the Agent Voice
In the Agent section:
- Click Change to open the Voice Library
- Browse voices using the Explore or Favorites tabs
- Filter by Language, Region, and Gender
- Preview each voice using the play button or enter custom text
- Matches your audience’s expectations
- Sounds neutral and professional
- Remains pleasant over repeated listening
2
(Optional) Add multiple agent voices
You can add more than one agent voice and split usage between them.
- Click New voice
- Select an additional voice
- Assign a percentage weight (for example, 70% / 30%)
When to use multiple voices
When to use multiple voices
- You want subtle variation across calls
- You are testing two voices in parallel
- Different voices for different scenarios
3
Configure voice settings
Next to each voice, click the Settings (gear) icon to open advanced tuning.Click Done to save settings.
- Stability (%)
- Clarity and similarity (%)
Controls how consistent the voice sounds over time. Higher values keep tone and delivery more uniform across responses.
- Higher = more predictable, less expressive
4
Configure disclaimer voice (if enabled)
If your agent uses a disclaimer:
- Expand the Disclaimer section
- Select a voice (can be the same or different from the agent)
- Use a clear, neutral voice
- Avoid expressive or casual tones
- Keep speed slightly slower than the main agent
5
Publish changes
Once satisfied:
- Click Publish
- Changes will apply to the selected environment
Check your understanding
Verify your voice settings
After publishing, make at least one test call and listen to:Greeting
Greeting
- Voice sounds clear and welcoming
- Pacing feels natural
- No awkward pauses
Mid-call responses
Mid-call responses
- Voice remains consistent across turns
- Responses flow naturally
- No sudden changes in tone or speed
Longer responses
Longer responses
- Voice maintains professionalism throughout
- Instructions are clear and easy to follow
- Pacing allows for comprehension
Success criteria:
- Voice sounds consistent throughout the call
- No awkward pacing or unnatural pauses
- Audio matches expectations across all conversation turns
Check your understanding
Try it yourself
1
Challenge: Choose settings for a hotel concierge
You are configuring voice for a luxury hotel concierge agent. Decide and explain:
- Should stability be higher or lower – and why?
- What clarity range would you use for natural guest conversations?
- Would you use a single voice or multiple voices for this agent?
Hint
Hint
For a luxury hotel, consistency and tone matter a lot. Think about what “professional” sounds like in audio – and what settings support that.
Example solution
Example solution
- Stability: High (0.8 or above). Luxury guests expect a consistent, predictable tone – not expressive variation.
- Clarity: 80–90. This range keeps the voice natural and conversational without being brittle to unexpected phrasing.
- Single voice. Multiple voices introduce inconsistency, which conflicts with a luxury brand expectation. Add a second voice only if you’re specifically A/B testing.
Check your understanding
Go deeper
The Voice section of the Help Center covers everything from choosing voices to advanced multi-voice setups:Voice overview
Full reference for all voice configuration options
Voice Library
Browse and preview all available voices
Choosing a good voice
Tips for picking the right voice for your use case
← Previous: Add a simple topic
Lesson 3 of 6
Next: Environments & versions →
Lesson 5 – learn to test safely before going live